Tutorial: How To Foundation Paper Piece (includes FREE Pattern)
- Althea Gyde

- Aug 1, 2020
- 3 min read
Hello Friends! Below you will find a step-by-step tutorial for Foundation Paper Piecing (FPP) using the SEW, TRIM, PRESS method. I created a free pattern called "Punk Pansy" that you can download by clicking the PDF here:
I also have a video that demonstrates how to Foundation Paper Piece using the SEW, TRIM, PRESS method.
Part 1: Prepare

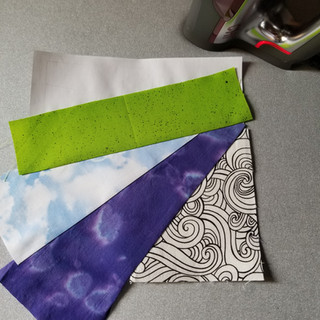
Print templates for the Punk Pansy block. You will need four copies of the template on page 2 per block. Gather and cut your fabric. Note the cutting measurements are on the printed template. These cutting measurements are intentionally generous. It can be very frustrating to realize you don't have enough fabric. Your FPP experience should be as joyful as possible!

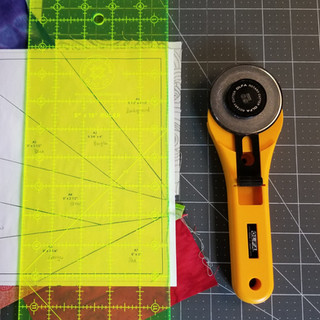
Gather your Foundation Paper Piecing (FPP) materials: cutting ruler, rotary cutter, stiletto (optional), seam ripper, small thread scissors, add-a-quarter-inch ruler (optional), and a wood iron (optional) or regular iron. Not pictured above are a straight pin, a sewing machine in good working order, thread, and an ironing surface.

Trim your templates. I like to make sure there is at least 1/8" paper all the way around the template. That will give me enough for a final trimming when I'm finished.

I like to write the color of the fabric I'm using for each section. Since all four quadrants will be the same, I only label the first template and then use it as a reference for the other three.
Part 2: Assemble Your Punk Pansy using the SEW, TRIM, PRESS method


Align the background piece A1 underneath the paper with the back of the paper touching the back of the fabric. To help me remember this I think of three B's: Begin Back to Back. Secure with a pin as shown.

Align the purple piece A2 along the line between A1 and A2.

SEW. Use a short stitch length (I use 1.6) so your work will be secure and it will be easier to remove the paper later.

Fold the paper back along the line you just sewed.


TRIM. Align your ruler along the 1/4" mark and trim the excess from the background fabric A1. Unfold the paper to it's original size. Do not trim the paper.


PRESS. Iron the purple A2 into place.
Repeat the SEW, TRIM, PRESS method until all the sections are covered.

Lay the next piece of fabric onto your work surface, right side of the fabric up. The line you are going to sew next is away from your body (up, toward the top of the photo) and the fabric you are attaching is close to your body (down, toward the bottom of the photo). Using this setup will prevent mishaps and make your FPP experience much more enjoyable. I always remember "Line Up!" to keep everything in place.

SEW

TRIM

PRESS


SEW, TRIM, PRESS for green A4


SEW, TRIM, PRESS for yellow A5


SEW, TRIM, PRESS for orange A6 and red A7

Here is how your piece will look after all the sections have been sewn, trimmed, and pressed.
Part 3: Finish


Trim all the way around along the outermost cutting line.

Remove the papers.
At this point you have some decisions to make about how you'd like your final block to look. I generated four possible quilt layouts using the Punk Pansy templates:

Option 1, quadrants arranged with red towards the center

Option 2, quadrants arranged with blue and purple towards the center

Option 3, quadrants arranged with white towards the center

Option 4, quadrants arranged with orange toward the center

Here are my four quadrants sewn together (as in option 1) to make the Punk Pansy block.
Please remember to share your Punk Pansies on Social Media using #punkpansyblock and, remember, I'm here to help if you have questions!


